Mighty Skins Drone: Unboxing and Setup
Unboxing
1. Open the box: Carefully open the box, preserving the packaging if you plan to resell the skin.
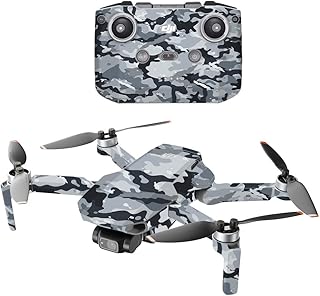
2. Inspect the contents: Inside, you'll find the Mighty Skin, a microfiber cloth, and a squeegee.
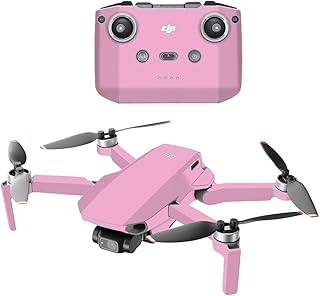
3. Choose the right skin: If you purchased a multi-pack, choose the skin you want to use.
Setup
1. Clean your drone: Using a microfiber cloth, thoroughly clean your drone's surface to remove any dust or debris.
2. Prepare the skin: Peel back a small portion of the backing paper to expose the adhesive side of the skin.
3. Align the skin: Carefully align the skin with your drone's surface, ensuring it's centered and straight.
4. Apply the skin: Slowly peel back the backing paper, applying the skin to the drone's surface.
5. Smooth out air bubbles: Use the squeegee to smooth out any air bubbles from the center to the edges.
6. Trim any excess skin: If necessary, trim any excess skin with a sharp knife or scissors.
7. Let it dry: Allow the skin to dry for 24 hours before using your drone.
Tips for a successful application:
* Work in a clean, dust-free environment.
* Apply the skin slowly and carefully.
* Use gentle pressure to smooth out air bubbles.
* Don't stretch or pull the skin.
Note:
* The application process may vary depending on the specific model of your drone and the Mighty Skin design.
* Refer to the instructions provided with your Mighty Skin for detailed application guidelines.
Enjoy your new custom-skinned drone!
Bonus:
* Take before and after photos to showcase your new drone's sleek look!
* Share your experience with other drone enthusiasts!
* Explore different Mighty Skin designs to personalize your drone further.